Chocolate Babka Couronne
Prep Time: 3.5h
Cooking Time: 25-30m
Servings: 12-16 servings
A bigger and chocolatey version of the Apricot Couronne. The bread is an enriched dough, so it's a bit brioche-like. This is a dark chocolate lovers delight!
Rather than throwing away the trimmed edges, I cook them as little rosettes. :) Warning though: Make sure to place the rosettes on the outside of the bread while cooking (not the inside of the whole) otherwise the inside of the bread may not cook through.
NOTE: You can cut this recipe in half pretty easily. Just know that half of 1/3 cup is about 3 tbsp + 1 tsp. Use about 7g of yeast (about 1 packet, usually). Lastly, decrease the cook time by about 5 min. It also doesn't cook quite the same, but it's still tasty.
Ingredients
For the Dough:
- 575g (4 cups) bread flour
- 14g (2 tsp) salt
- 11g instant yeast (about 1½ packets)
- 100g (7 tbsp) unsalted butter, softened
- 195g (7 fl oz) milk
- 2 egg, lightly beaten
For the Chocolate Filling:
- 115g (8 tbsp / 1 stick) unsalted butter
- ¾ cup dark chocolate (we use 60%)
- 1/3 cup cocoa powder
- ½ cup powdered sugar
For the Glaze:
- 1/3 cup water
- 2/3 cup granluated sugar
Instructions
- Lightly oil a large bowl (I use margarine), and set aside.
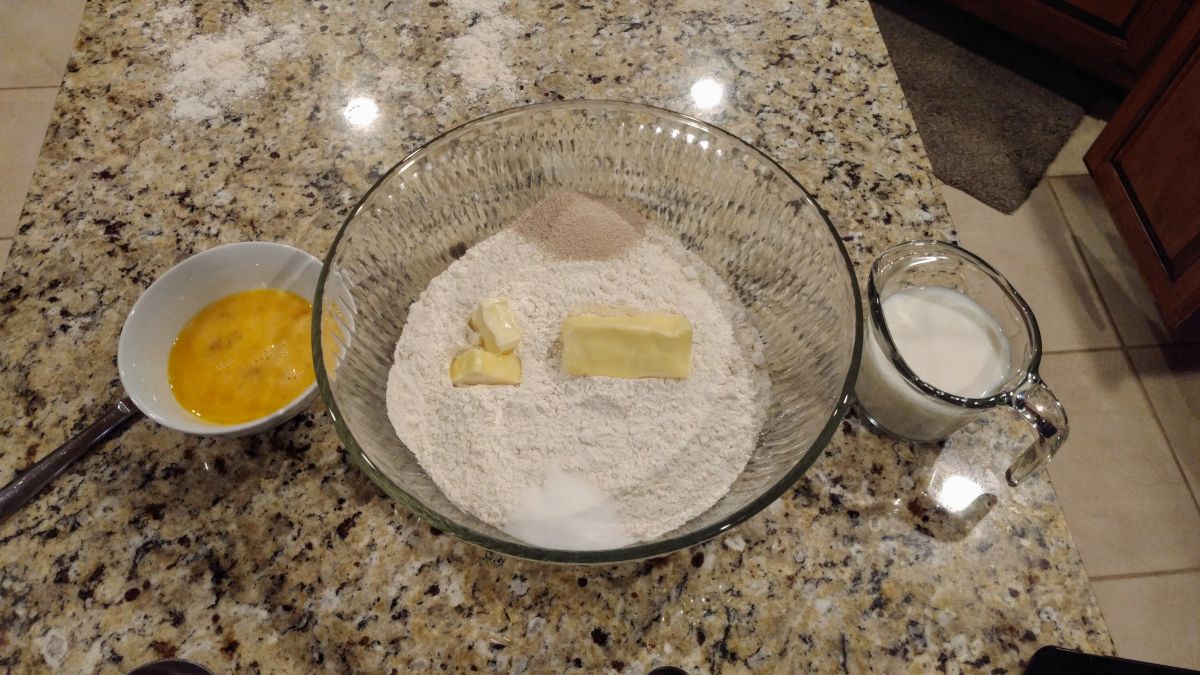
- Tip the flour into a large mixing bowl and add the salt to one side of the bowl and the yeast to the other. Add the butter, milk and eggs, and mix to combine, using your hands (or see NOTE on step 3, below). Continue to mix until you’ve picked up all the flour from the sides of the bowl. Use the dough to clean the inside of the bowl and keep going until you have a soft dough.
- Tip the dough onto a lightly floured work surface and begin to knead. Keep kneading for 8-10 minutes. Work through the initial wet stage until the dough starts to form a soft, smooth skin.
- NOTE: This is a LOT of dough, so you'll have to either put some muscle into it, or use a stand mixer. If you choose to use a stand mixer, first use the paddle until all the ingredients come together. Then switch to a dough hook and proceed to mix, starting slow and moving up to medium. Kneed for approx. 4-5 min.
- NOTE: This is a LOT of dough, so you'll have to either put some muscle into it, or use a stand mixer. If you choose to use a stand mixer, first use the paddle until all the ingredients come together. Then switch to a dough hook and proceed to mix, starting slow and moving up to medium. Kneed for approx. 4-5 min.
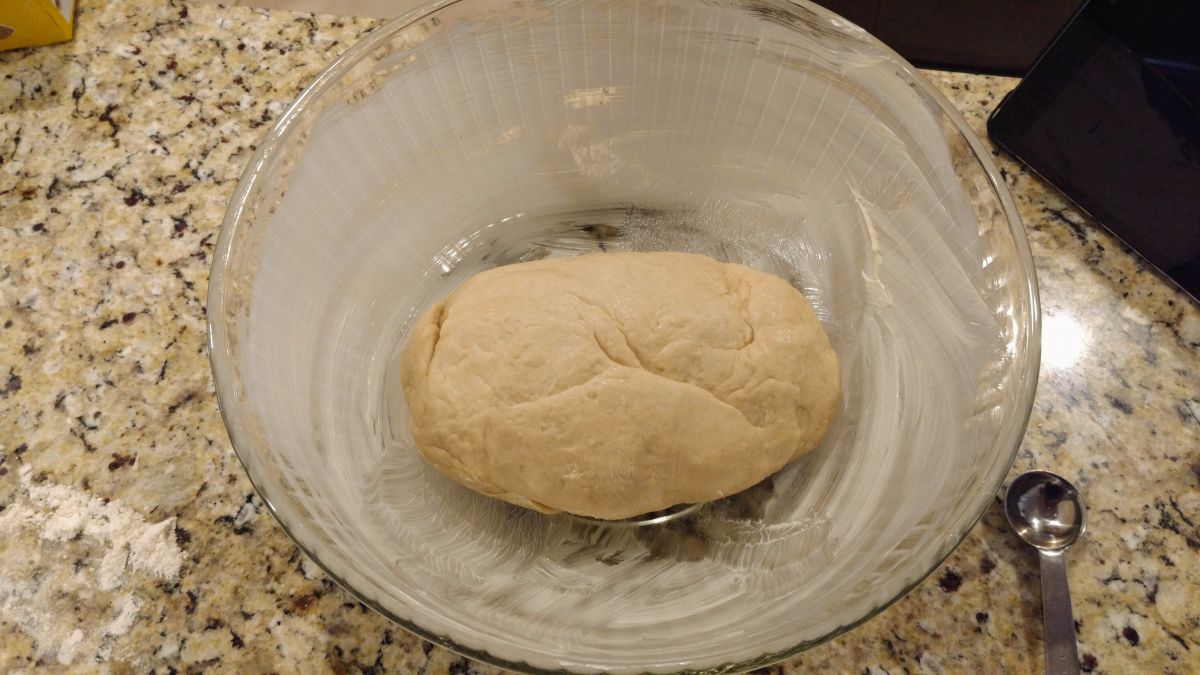
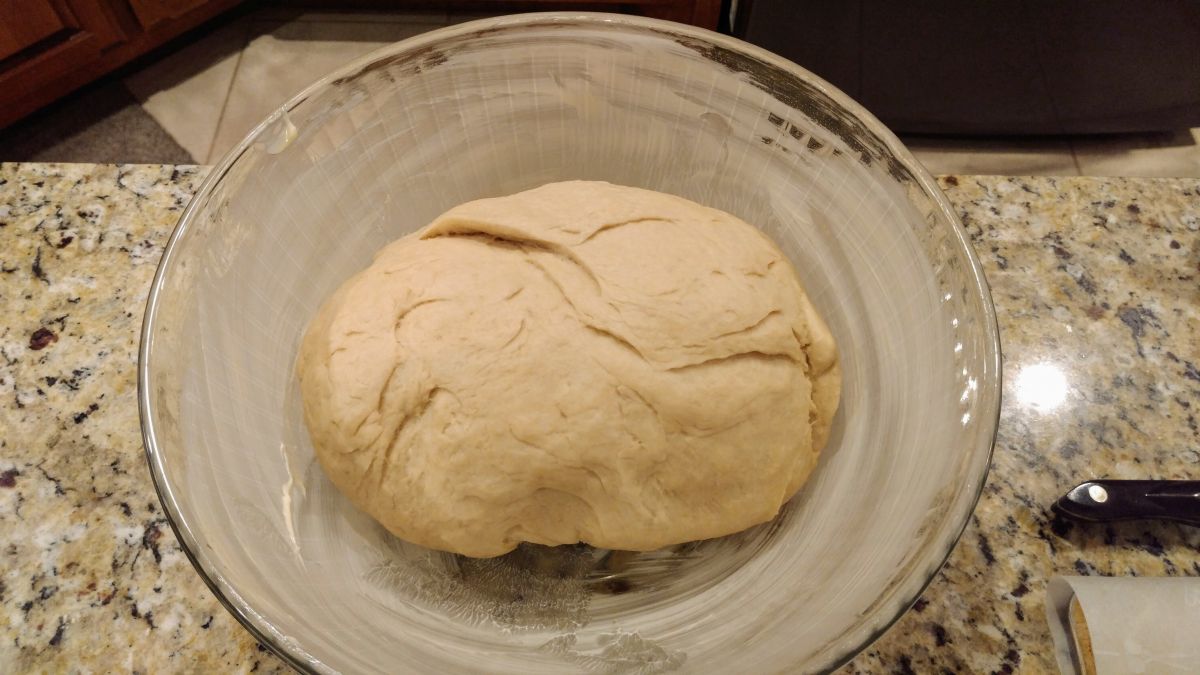
- When the dough feels smooth and silky, place into your lightly oiled bowl. Cover the bowl and leave to prove for 1h30m in a warm place, or until approx. doubled in size. If in a very warm place, reduce the proving time. Cooler places may need longer.
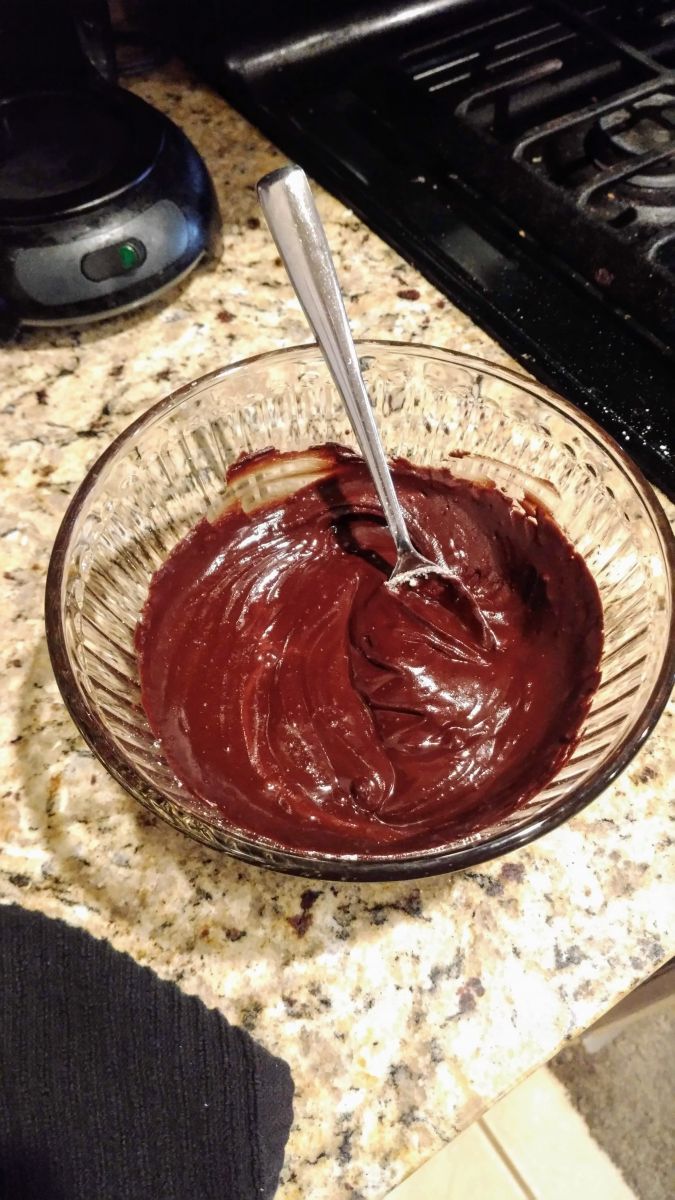
- 40m after the dough has been left to prove, start making the filling. Add the chocolate and butter to a pan and slowly melt both, stirring to combine well. Slowly stir in the cocoa powder. Once fully combined, removed from heat. I use a double-boiler method to heat the mixture more evenly.
- Pour chocolate mixture into a bowl, and add in the powdered sugar, sitrring until fully combined. Mixture should be about the consistency of gonache or paste. Set aside to cool.
- NOTE: If it's too warm, it will leak out while you try to roll and twist the dough. It should be firm but spreadable.
- NOTE: If it's too warm, it will leak out while you try to roll and twist the dough. It should be firm but spreadable.
- Prepare a baking sheet by covering it with parchment paper.
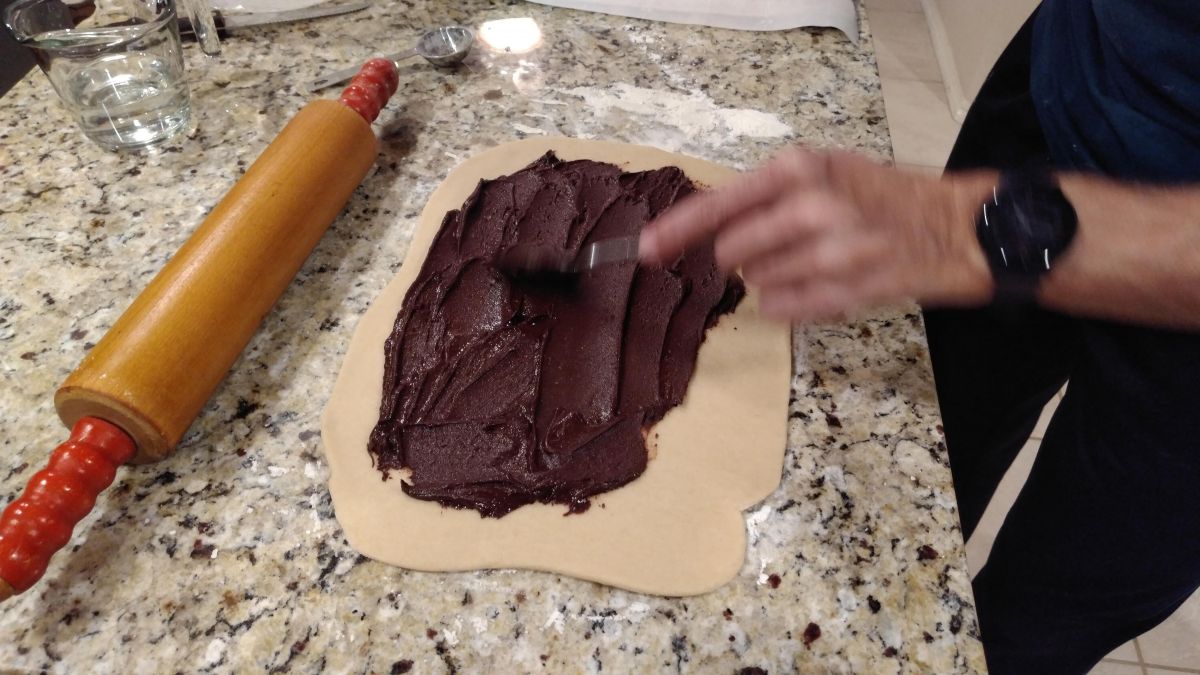
- Cut the risen dough in half and turn out gently onto a lightly floured surface. Taking care not to know the air out, roll the dough into a rectangle, approx. 15x10"; the long egde should face you. Take half the chocolate mixture and spread it evenly over the dough, leaving approx. 1cm or ½" from each edge. Take your time spreading the chocolate - it doesn't feel like it at first, but it will cover the entire bread.
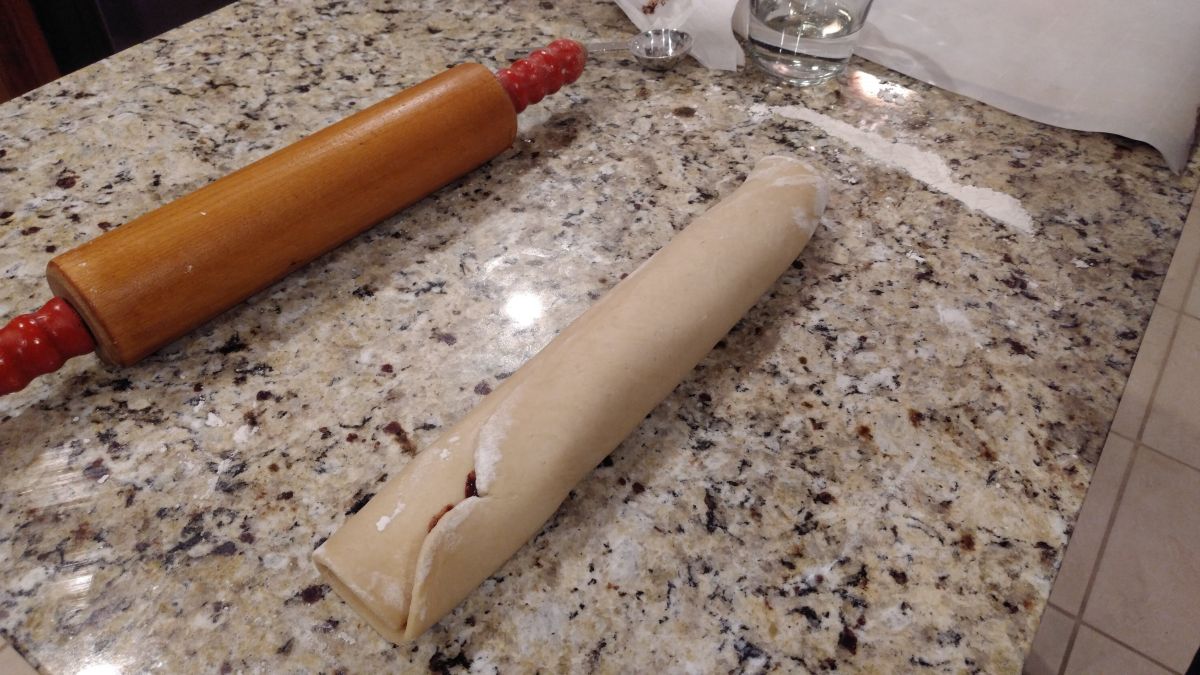
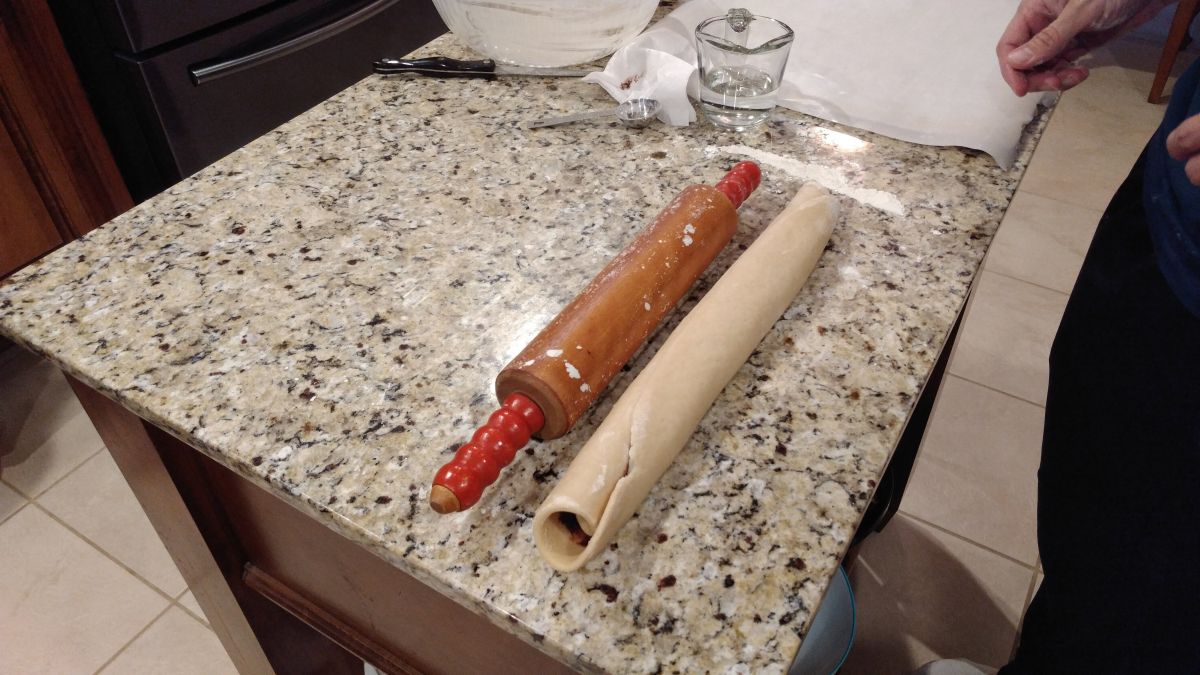
- Brush the edge near you with water, then slowly and tightly roll the edge fartherst from you towards you. Continue to roll until the edge near you faces up, and press it lightly flat to seal. Gently lift and stretch the dough, starting from the center and pulling softly towards the edges. Repeat several times until the dough is approx. 18-20". Trim approx. ½" from each end (trim up until the chocolate mixture).
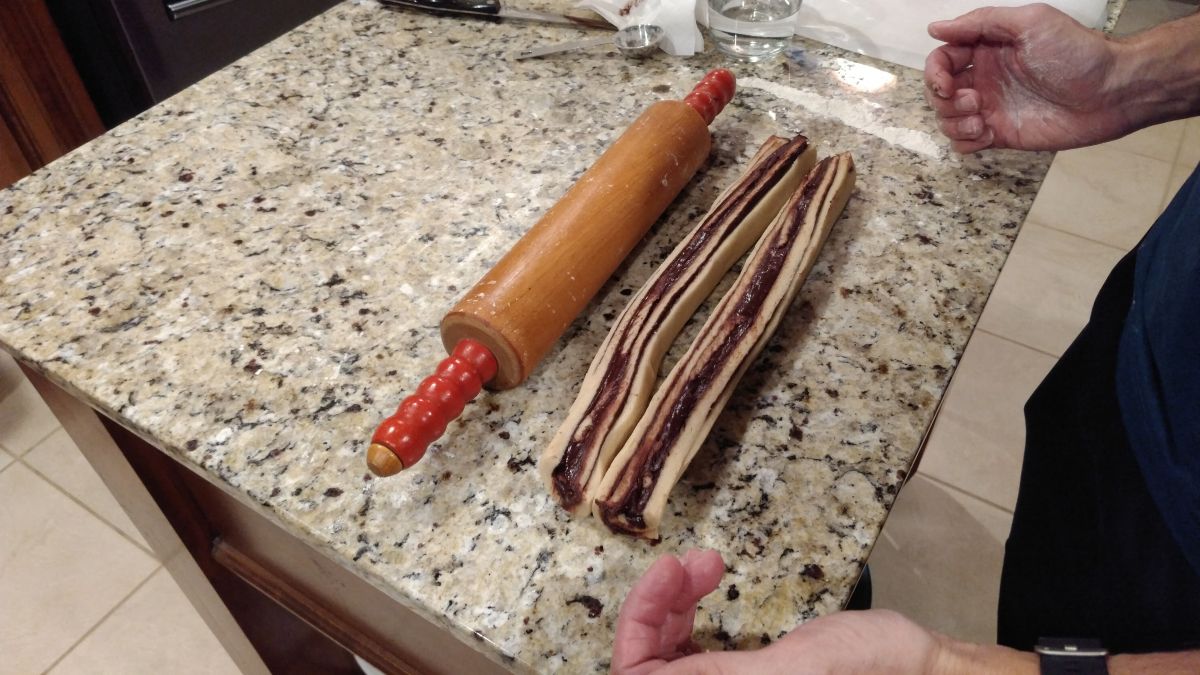
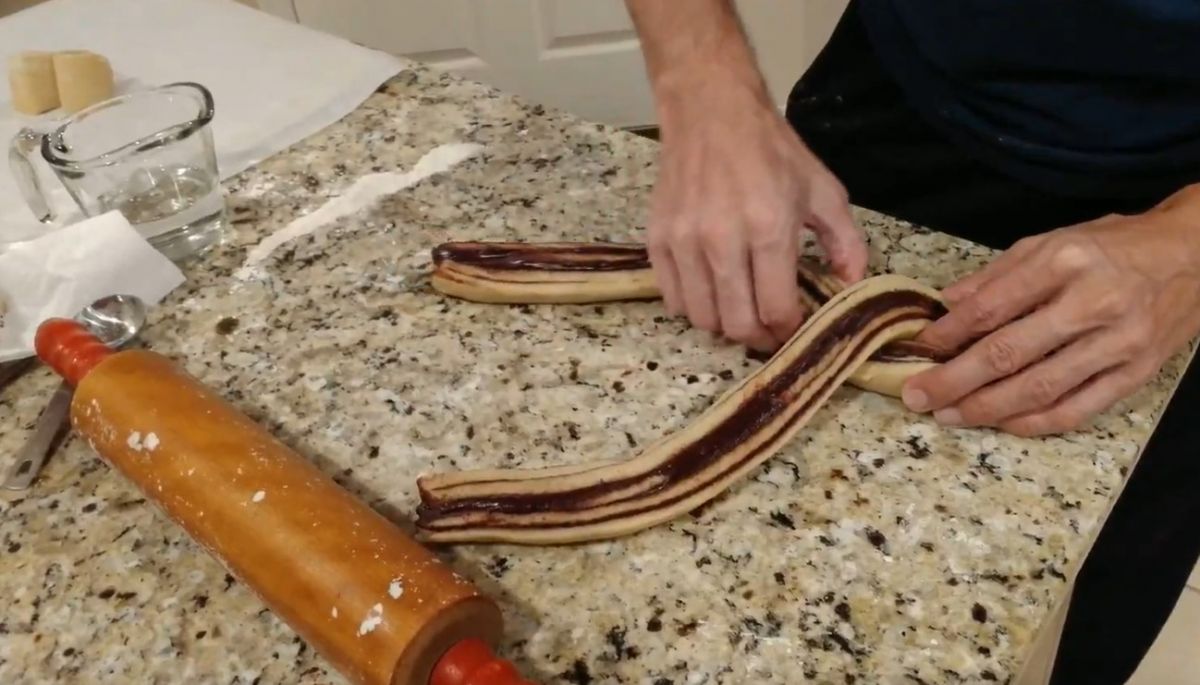
- Using a serated knife, slice down the length of the dough, opening to lay each half flat. Repeat the lifting/stretching on each strand until it is approx. 20-22". Holding one end together, proceed to braid the dough, keeping the curved side facing down as you braid. Once finished, place on the braid in a semi-circle on the baking sheet.
- Tip 1: When cutting the dough, ever so slightly pull the dough away from the blade as you cut. This will help it not pinch in with the knife.
- Tip 2: For braiding, place the strands parallel to one another, keeping the insides facing up. Lift one braid over the other, bringing it to about 30º, and leaving about the width of the dough straight on both strands. Take the strand you didn't lift, and now move that strand away from the one you lifted, so they're about 60º apart. On the inside of the lifted strand, make a small indent with your finger right at the junction, and move this strand back to the original position, so now they're about 30º apart again. Lift the second strand over the first, and repeat the process, continuing to make indentations for the bend.
- Tip 3: As you braid, sometimes the finished portion will start to twist. Take a moment to turn it so it's facing up again before continuing to braid.
- Tip 1: When cutting the dough, ever so slightly pull the dough away from the blade as you cut. This will help it not pinch in with the knife.
- Repeat steps 8-10 using the other half of the dough and chocolate mixture. Place onto the baking sheet, connecting the ends of the second braid to those of the first. Place the tray in a plastic proving bag (or cover lightly with plastic wrap) and let provie for 45m in a warm place.
- NOTE: You can also prove and cook the trimmed edges. Just keep them tightly rolled, and place them on the outside corners of your tray. Do not place them in the middle of the tray, or the center of your bread may undercook (if you have a small circle). For presentation, you can place them in the center after baking.
- NOTE: You can also prove and cook the trimmed edges. Just keep them tightly rolled, and place them on the outside corners of your tray. Do not place them in the middle of the tray, or the center of your bread may undercook (if you have a small circle). For presentation, you can place them in the center after baking.
- Preheat oven to 375º F. Remove proving bag/plastic wrap, and bake for 25-30m. Bread should start to brown, the chocolate layers should be slightly firm to the touch (DON'T USE YOUR FINGER LIKE I DID!).
- NOTE: Tapping the side of the bread should yield a dull but solid sound. If the thud is too dull or the outside is soft, the inside is likely not done. This takes practice to know what it should sound like.
- NOTE: Tapping the side of the bread should yield a dull but solid sound. If the thud is too dull or the outside is soft, the inside is likely not done. This takes practice to know what it should sound like.
- While the bread is baking (about 20 min in), prepare the glaze by combining the water and sugar in a pan, and slowly bring to a boil while stirring. Once sugar has fully disolved, remove from heat and set aside.
- After you remove the bread from the oven, brush on the glaze while the bread is still hot. It will appear like there's a lot of glaze left over; just keep brushing it on, going around section by section until you've used it all.
- Slide parchment paper off of the baking tray and onto a cooling rack. Let cool completely before serving (we've rarely followed this).
You can wrap it well and store it for several days (about four), or freeze it for up to a month.

